
This article gathers everything you need to begin using Adobe Photoshop, starting from the installation, set up and then finding and installing resources.
1 – Buying and installing
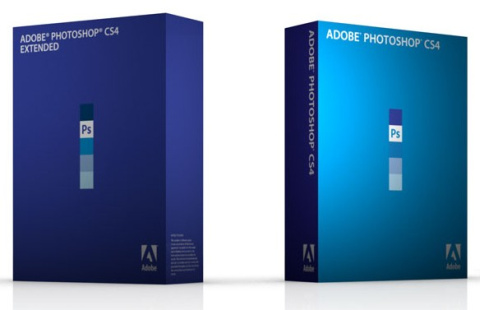
The first thing to get your Photoshop is, of course, buying it. Let me show you the options you have and the prices. There are Adobe Photoshop and Adobe Photoshop Extended, each one with its particularities. The first one is prepared to do most of the common tasks for photographers, designers and web designers, such as compositions and manipulations, layouts for graphic pieces, web layouts, etc. The second one has all these features plus the capability of editing/creating 3D models and video/animation. While Photoshop costs US$699.00 (CS4 version), the Photoshop Extended costs US$999.00 (CS4 version).
You may also be interested in buying the Design suite, which includes other Adobe’s graphic softwares such as Illustrator and InDesign. You can buy the Creative Suite 4 Design Standard for US$1,399.00 or the Creative Suite 4 Design Premium for US$1,799.00.
The installation is now faster than CS3 and quite simple. You can also register to get access to information, news and updates. Learn more.
2 – Preferences
Photoshop is pretty flexible; you can configure some preferences and even keyboard shortcuts.
Here you see the Preferences panel (Edit > Preferences > General or Ctrl+K):
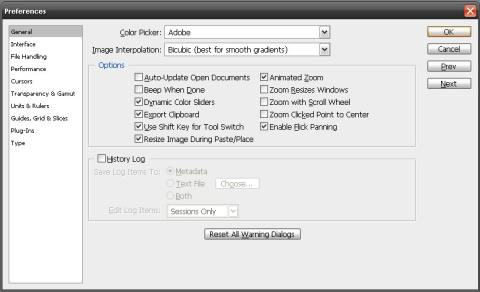
On the left side you can choose subjects to make changes. Check if everything is according to your needs. If you are not used to Photoshop you may want to configure it later taking into account the tools you’ll need handy.
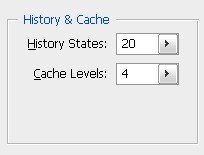
One interesting thing to set up before start using Photoshop is the History States (Edit > Preferences > Performance), where you can set how many times you will be able to undo what you’ve edited. As standard, Photoshop is set to 20 History States, but you can change this number, especially if you have enough RAM memory on your computer.
3 – Keyboard Shortcuts
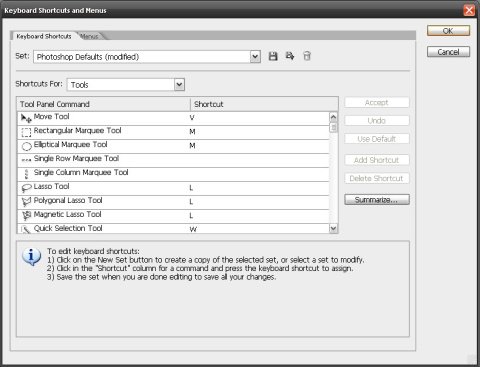
The possibility of changing the shortcuts can improve productivity and you can also set the shortcuts according to other softwares you are used to. This option is located on menu Edit > Keyboard Shortcuts (Ctrl+Alt+Shift+K) and allows you to change shortcuts for tools, panels and application menus and even save these configurations.
4 – Workspaces
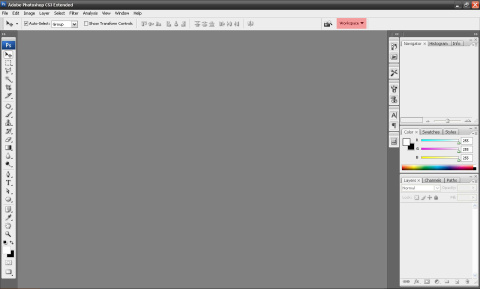
Photoshop’s interface is based on panels that you can show/hide. This is the CS3 and CS4 basic interfaces.
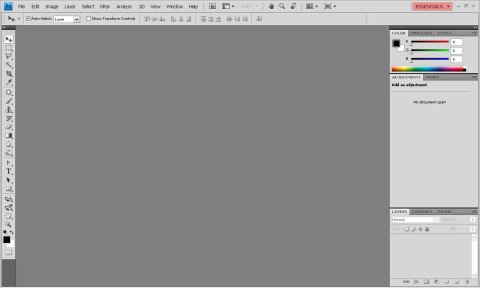
An easy way to switch the workspace is using the pre configurations on Window > Workspace or directly go to the buttons highlighted on the image above. Anyway, you can personalize the workspace turning on/off panels on menu Window.
5 – Brushes
Brushes are handy and add an extra touch to some works in a simple way. There are a lot of sources to get brushes on the Internet and load them on Photoshop, but you can also do your own.
How to load?
Select the Brush Tool (B), then follow this sequence:
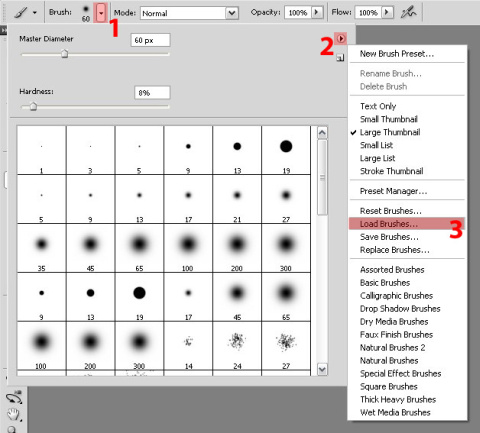
Just pick the file in .abr format and click OK. The brushes set will appear on the bottom of the thumbnails.
Where to find?
Brusheezy
DeviantART
Bittbox
Chez Plumeau
Tutoriais.org
Adobe
6 – Styles
These are ready to use effects to apply on texts or images, with drop shadows, glows, bevels, gradient overlays, strokes, among other effects.
How to load?
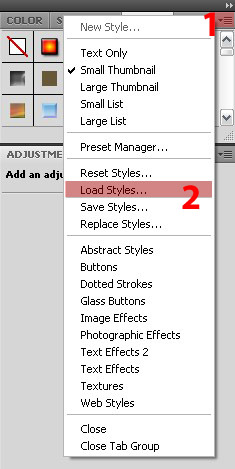
Open the panel Styles – if you can’t see it on the right side, go to the menu Window and mark the option “Styles”.
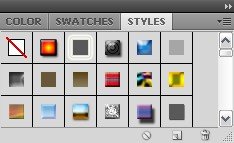
With the Styles panel on screen, follow the sequence below and choose the .asl file.
Where to find?
DeviantART
Deziner Folio
Deziner Folio
Deziner Folio
Adobe
7 – Shapes
They are vector based shapes that can be resized as you need with no quality loss.
How to load?
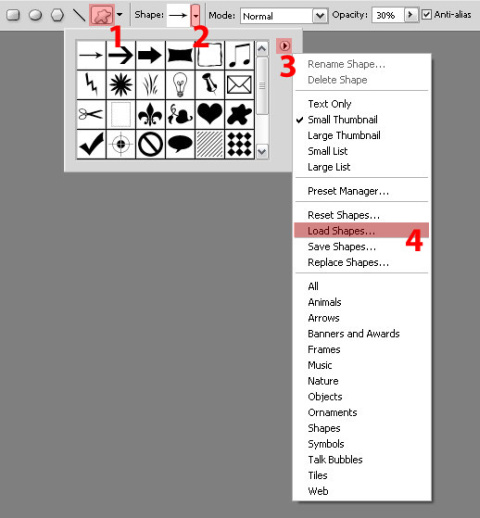
Select the Custom Shape Tool, follow the sequence below and load the .csh file.
Where to find?
Smashing Magazine
Free Photoshop
Adobe
8 – Actions
An Action is a compilation of commands to do something specific. Some actions can change colors and brightness, other ones can create different combinations of effects, or even add borders.
How to load?
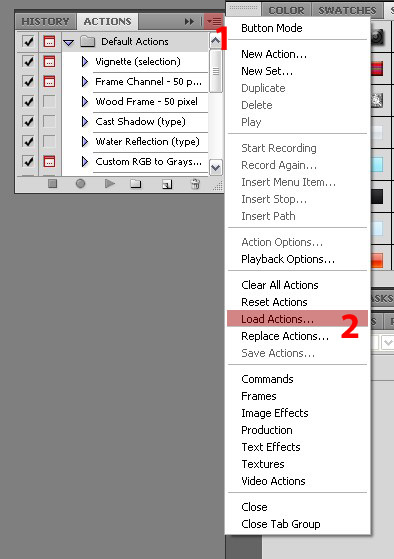
Open the Actions panel (Window > Actions), follow the sequence below and load the atn file.
Where to find?
DeviantART
Photoshop Support
Visual Blast
Adobe
9 – Plug-ins
There are thousands of plug-ins for different purposes. They are applications that run inside Photoshop. You can see the plug-ins that are already installed on the bottom of the menu Filter. We have selected some interesting plug-ins to help you save time in most common tasks.
Corel KnockOut
This plug-in is a great tool for masking, it can make much easier the process when working with compositions and manipulations.
Link

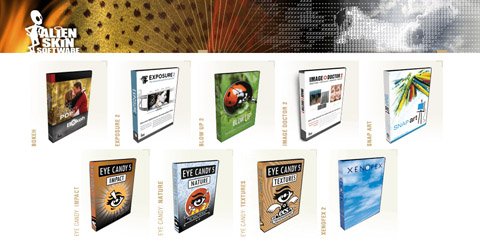
Alien Skin Software
The Alien Skin has a bundle of different and great plug-ins, such as Bokeh, Exposure, Blow Up, Image Doctor, Snap Art, Eye Candy’s collection and Xenofex.
Link
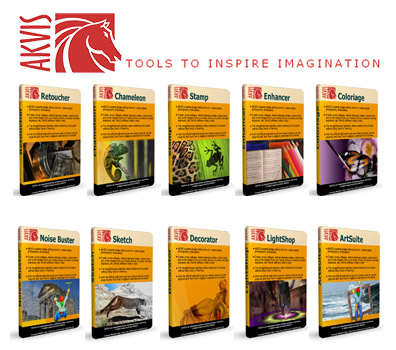
Akvis Plug-ins
Here is another good collection of plug-ins for different purposes. Some of the most interesting are Retoucher, Chamaleon, Stamp, Enhancer and Coloriage.
Link
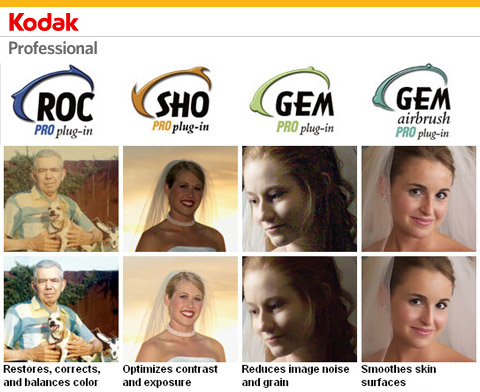
Kodak Plug-ins
Kodak is largely known for its quality when talking about photography. Their plug-ins for image retouch can’t be different, surely good ones.
Link
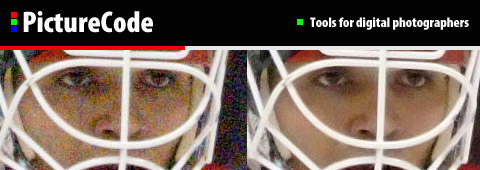
Ninja noise
An easy and simple plug-in for removing noise from photographs.
Link
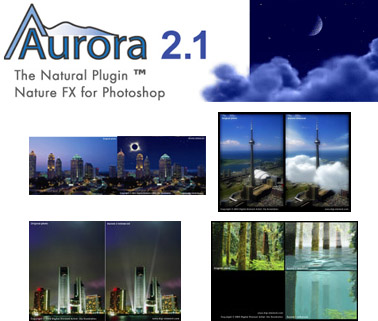
Aurora
Aurora is very specific, it works adding natural elements to your photos, like clouds, stars, water, water reflections, sunlight and more.
Link
Redfield plug-ins
Redfield has some interesting plug-ins, my favorites are Skechmaster, Expressionist, Perfectum and Fractalius.
Link
For more plug-ins visit Adobe and The Plug-In Site.
10 – Tutorials
Here is a selected group of tutorial sites:
Snap2objects
Psdtuts
PS Hero
Abduzeedo
Photoshop Lady
Tutorial9
Tutzor
Tutorial Dog
Photoshop Support
Worth 1000
For other resources visit Blue Vertigo. We also have a great article about resources here at snap2objects: 85+ free killer resources every designer should know.
Thanks, this was a great tutorial. Should be very useful for our web and graphic designers.
@Manufacturing Thanks 🙂