
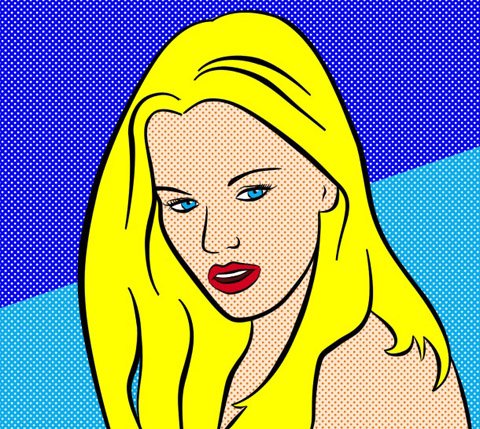
Roy Lichtenstein has inspired many artists till nowadays, with his beautiful paintings simulating the comic style, marked by the presence of primary colors and reticulated aspect. Now we are going to digitally recreate this style in a newer vision using the vexelling technique in Photoshop.
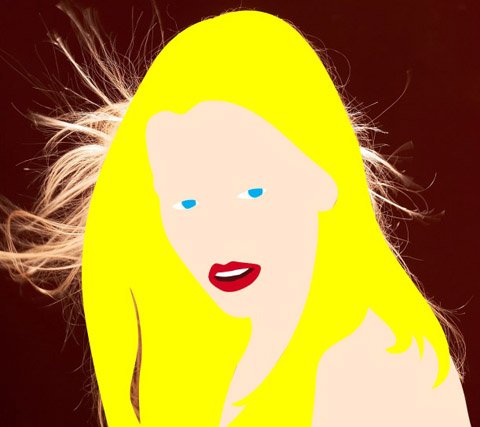
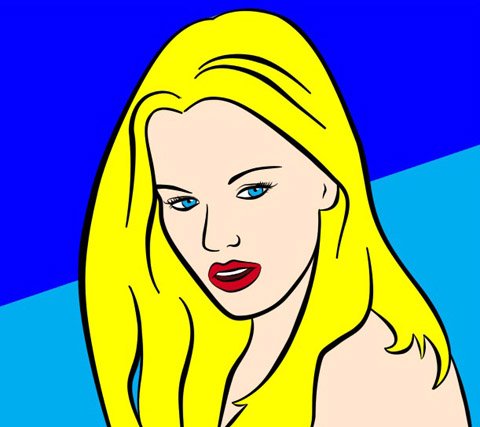
This is the final result:

Step 1
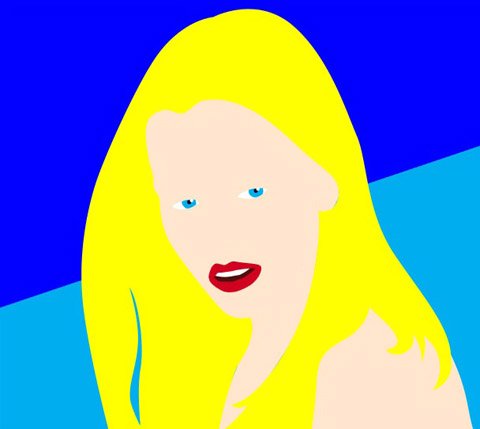
As it’s used to do in vexelling, we’re going to use a base image and trace on it. I found this photo of a beautiful blond woman (as Lichtenstein characters) at stockxpert. Crop it to make a square like comic strips.

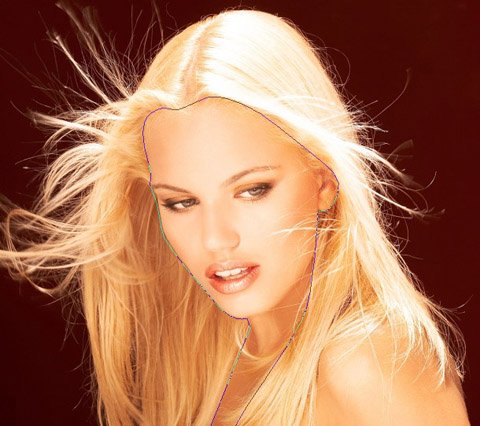
Step 2
Let’s start tracing. You must have some skills on the Pen tool – this tutorial will help you if you need to practice such skills. Start from the bigger parts and then go to the details. Remember to mark the option Paths at the Properties bar. Trace the face as you see in the image.
![]()
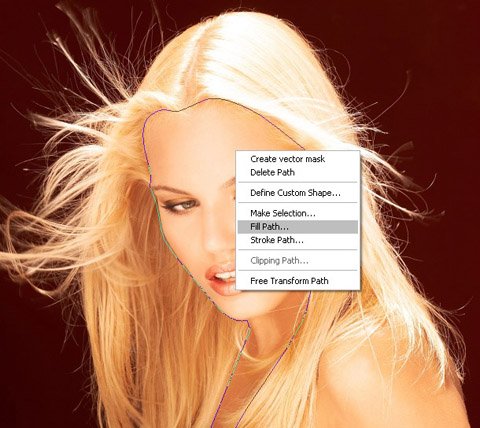
Step 3
Create a new layer to apply the fill. Right-click, go to Fill Path and choose a light color for the skin.

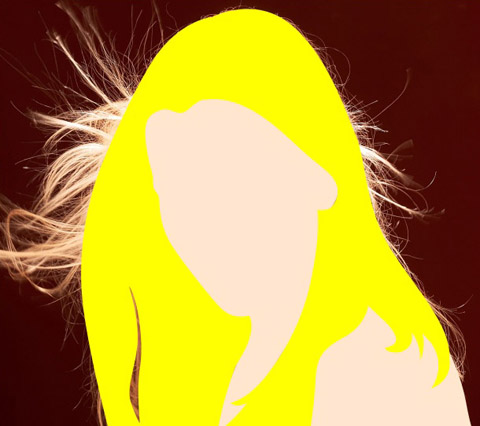
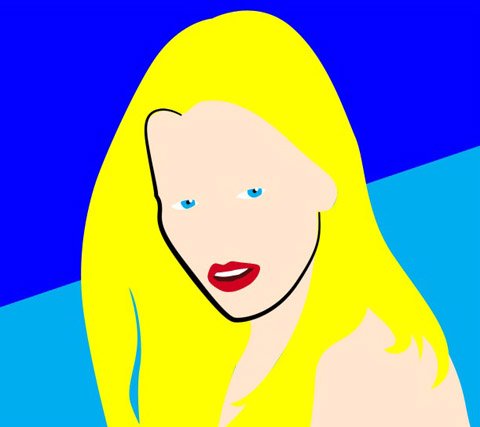
Step 4
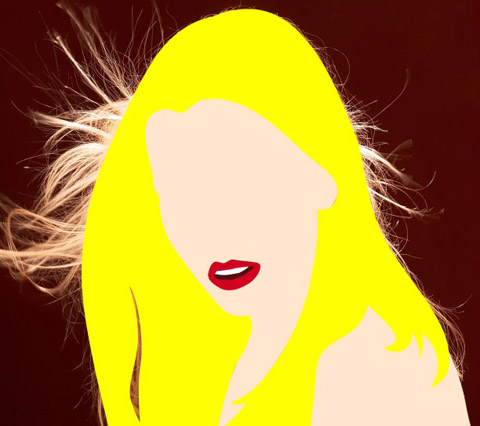
Do the same for each color, always in a separate layers. The image looks creepy, but don’t worry, everything will look better with the strokes.
5-10


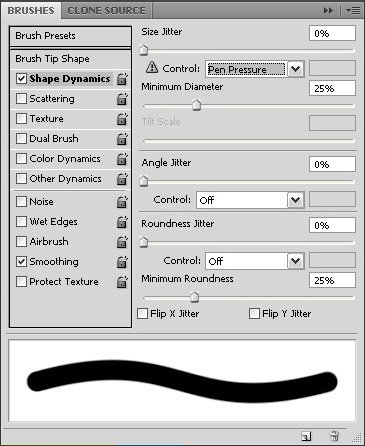
Step 5
We’re going to create the strokes now, but before using the Pen tool, you must configure your brush. Choose a hard round brush and open the Brushes panel (F5). Go to Shape Dynamics and set the control to “Pen Pressure” and the minimum diameter to 25%. It won’t let your stroke get too thin at the extremities. The brush size will be chosen according to the needs.
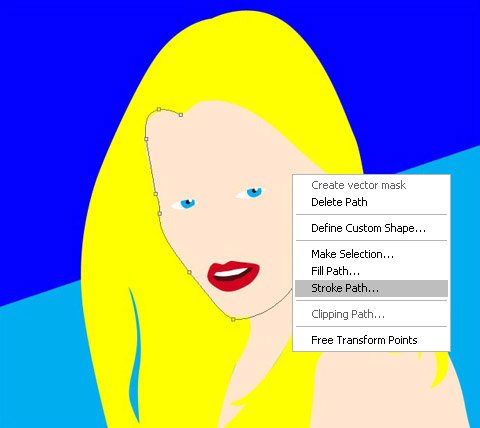
Step 6
Start creating the paths with the Pen tool. To apply the stroke, set the foreground color to black (D), right-click and go to Stroke Path. In the dialogue box, choose Brush as the tool and mark the option Pen pressure.

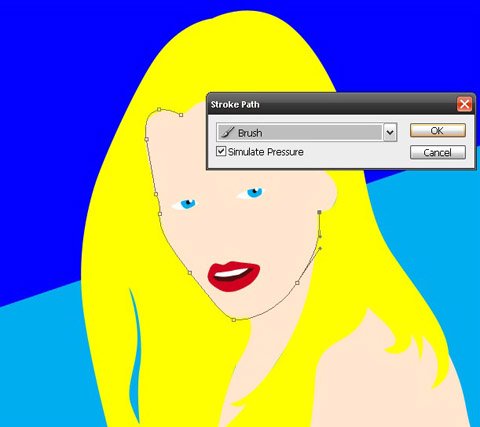
Step 7
Repeat the process for all the strokes and details like the eyes.
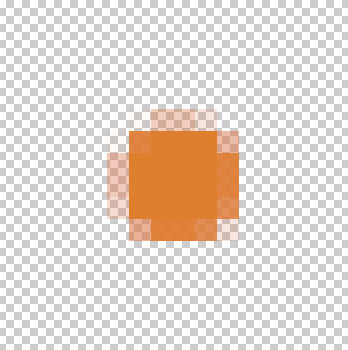
Step 8
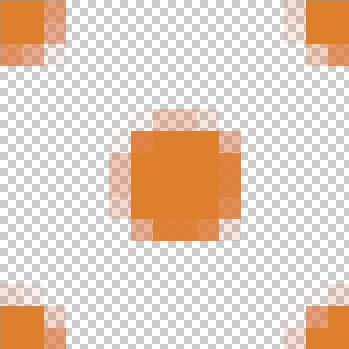
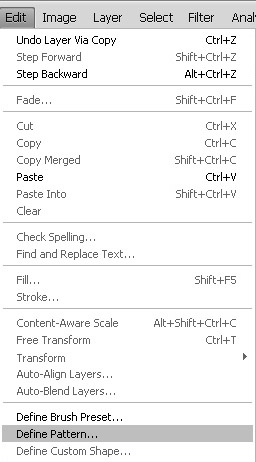
Create a dot pattern to make the reticulated effect. For that, open a new document with 16x16px with transparent background. Create a light brown circle in the center and duplicate it to the extremities like in the image. Go to menu Edit > Define Pattern and now it’s ready to use. Also make a white one.
Step 9
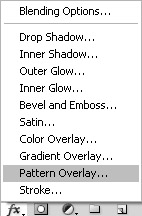
Using the Pattern Overlay from Layer Styles, apply the dot pattern on the skin and background.
Step 10
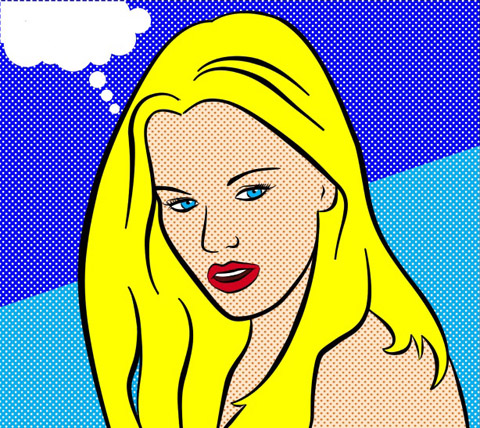
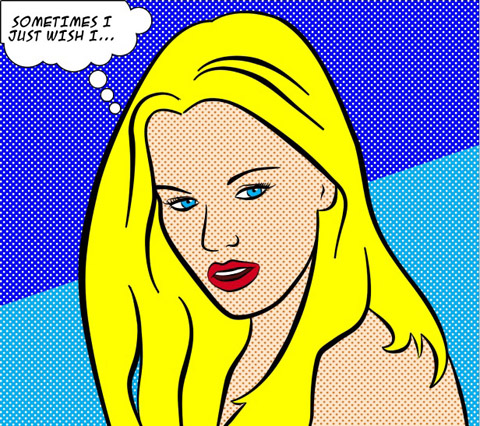
Use the Ellipse tool to make the thinking balloon. Apply a black stroke and add the text using a comic font (this one is ACME Secret Agent).
Step 11
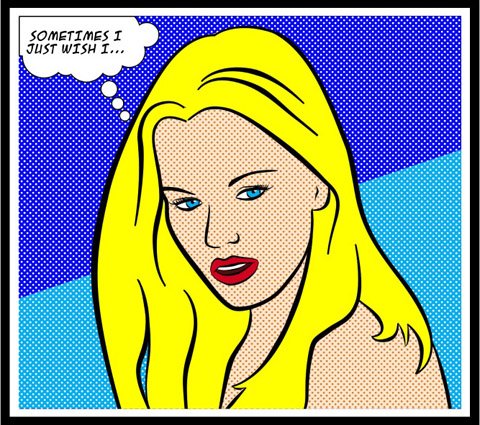
Add a final touch making a frame. Set the background color to white (D). Go to Image > Canvas size and set width and height to 104%. Change de background color to black (X). Repeat the canvas size adjustment and check the result:
Thanks for another great tut. the effect is really professional. How many layers have you ended up with, are you able to put the psd up so we can take a look at it?
Fantastic tutorial. I’ve wanted to create some special “Comic Book” creations for my husband, since he is a huge comic book fanatic, but I’ve had some issues figuring out how to master this style. Very straight forward instructions! Maybe I can figure it out by his birthday in October. 🙂
Very good result! It is interesting to see how an comic/cartoon is created form a real person.