
Textures are something important to master when we work on simple designs. It helps to give more details without adding a heavier look the work. Today following with the fur tutorial we are gonna learn how make a leave texture and apply this effect to leaves of any shape.
Step 01
Choose a shape for the leave and give some color close to the final one. We are able to change this color in any moment to make different leaves.

Step 02
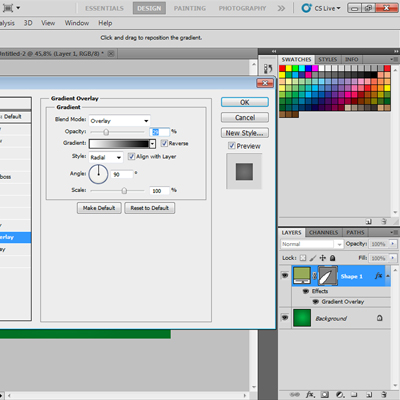
Now we are going to apply three effects to the leave layer:
First: A gradient overlay with radial low opacity to give volume.
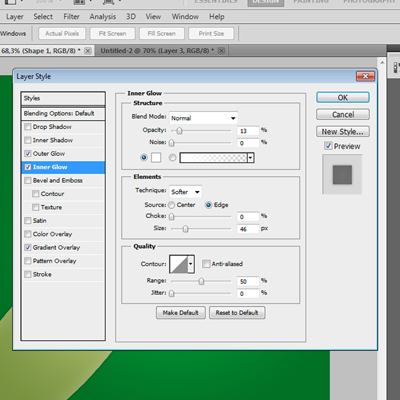
Second: Inner Glow in low opacity to give the idea of light borders.
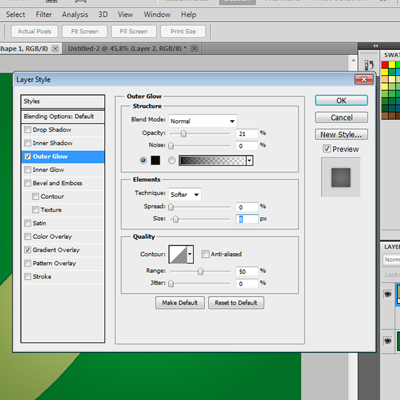
Third: Outer glow to cast a little shadow and and make the leave pop out.
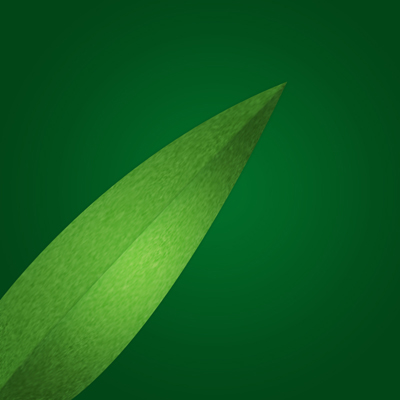
Must look something like this.

Step 03
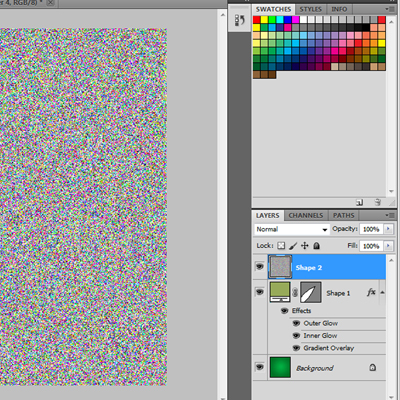
Now we add a new layer and add noise
Step 04
Desaturate the layer and make a clipping mask with the leave shape layer then use smudge tool (strenght 9%) over the noise layer following the shape of the leave.
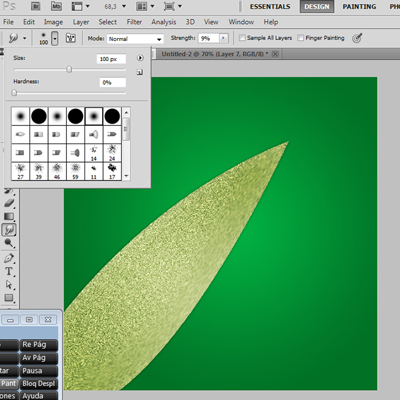
When we finished with this adjust the colors and effects, thats why we must apply first the effects around a shape layer, in that way we only have to change colors to adjutst all the leave textures.
Step 05
Make the sides of the leaves by creating under the clipping mask a new shape layer and copying the effects like in this example, the global light of photoshop will adust inmediatly all the effects together.
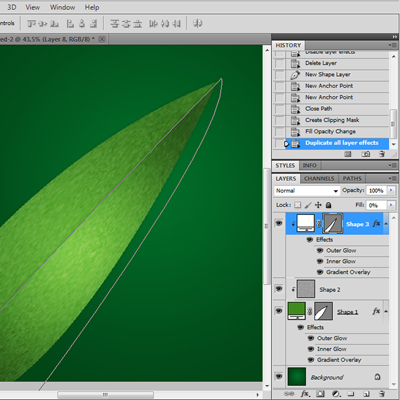
And we are done!
We have a beautiful realistic leave. ^^
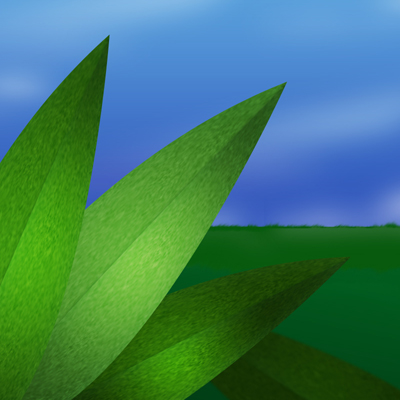
Now just leave the leave to the imagination hehe. You can group all the layers together, duplicate the group and variating a little the color of the shape to have more leaves.
The Result
Download
![]()
9.5 mb .zip [ai, eps, svg]

Great tutorial, I am not really good yet in Photoshop. I am still confuse with too much controls that I can see in it.
You’ve done an easy tutorial.
Jonah from table pliante