Hi everyone! I’m here again, this time to show you how to make an ad for a female perfume, pink and happy, using some freebies we can find here at snap2objects.
Step 01
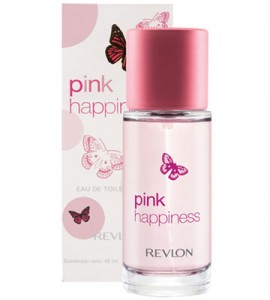
First, the perfume we’re going to use:
Step 02
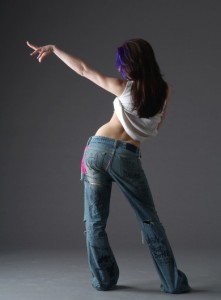
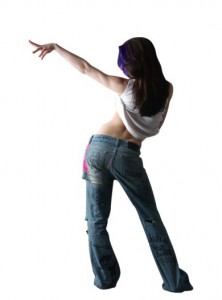
The model-Stock photo from Mjranum
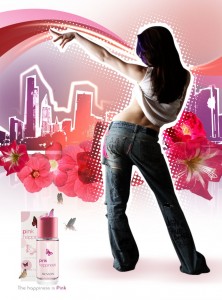
And the final result:
Step 03
Open the image on Photoshop and select the model using the Pen Tool (P)
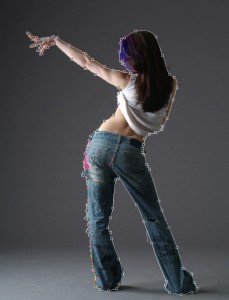
Put her in a new layer and paint the background with white (separate layers)
Step 04
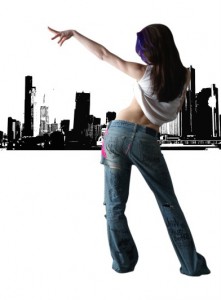
Add some skylines from this vector pack ‘cause they certainly show the idea of the modern women, in their urban life and it fits on the public of the perfume, which is composed by these urban, fashion and contemporary young women.
Step 05
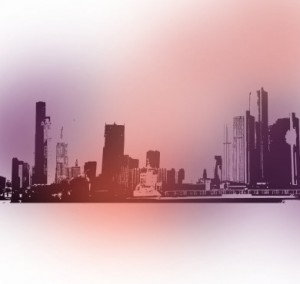
On a new layer, use a soft round brush with low opacity to add color, from light purple to pink.
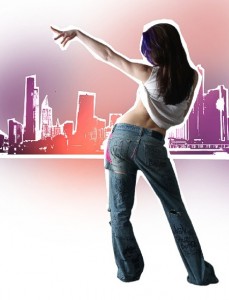
Then make the contour of the building silhouettes using the Polygonal Lasso tool (L), paint with white in a new layer and put it on Overlay mode to add contrast.

Do the same for the woman, but left the white layer under her in Normal mode.
Step 06
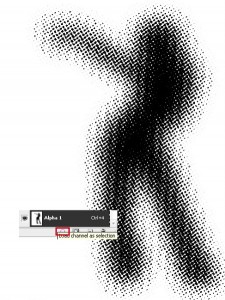
To make the halftone effect, select the layer of the woman and Ctrl+Click on it to make a selection. Go to Channels palette (Window > Channels) and create a new Channel. Paint with white.
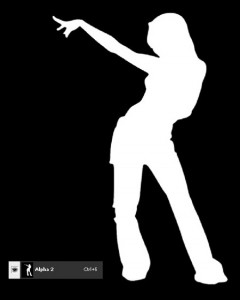
Add a Gaussian Blur – Filter > Blur > Gaussian Blur (if the filters are not enabled, go to Layers palette and click on any layer, then come back to the Channels). Invert the channel to make the silhouette black with the white background.
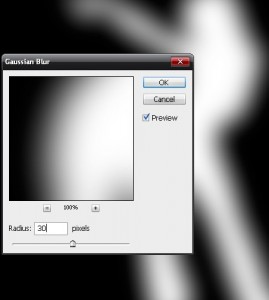
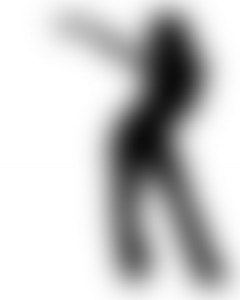
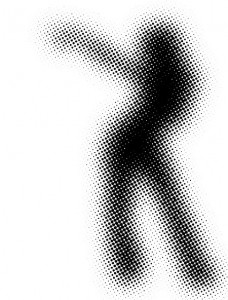
Next step, apply the filter Color Halftone – Filter > Pixelate > Color Halftone and adjust as necessary for your image. Click on Load Channel as Selection and go back to Layers palette.
Step 07
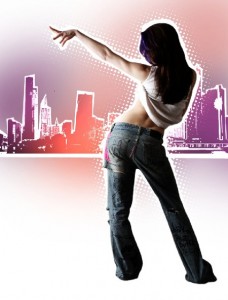
Invert the selection and paint a new layer with white.
Step 08
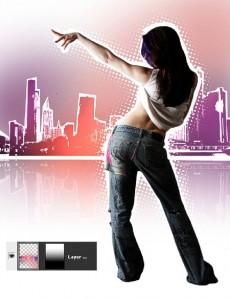
To reflect the buildings, select the three layers (buildings, colors and white border), duplicate and merge (Ctrl+E). Then transform (Ctrl+T), right click, Flip Vertical and place under the original buildings. Add a Layer Mask whit a gradient from black to white to make it disappear softly.
Step 09
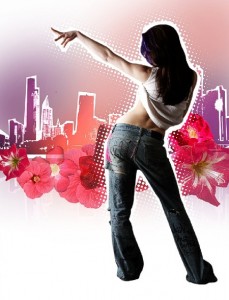
Add some flowers, this ad is about female things and smells! They can be found here . I’ve used the vector files, EPS. Open that on Illustrator, select the flower (without the white background) and paste into Photoshop as a Smart Object.
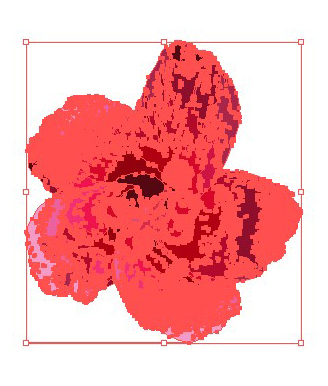
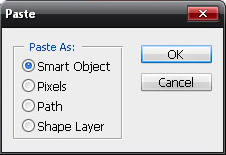
Use as many as you want to get something like this:
Step 10
Make a curved shape as below using the Pen Tool (P). Remember that straight lines are good for male things, while curves for female. Fill it, duplicate and rotate, changing the colors.
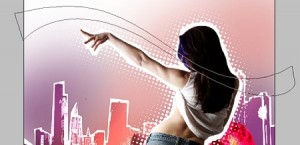

Let’s add some bright, use the Pen Tool (P) to make some strokes and add an Outer Glow in Color Dodge mode.

Step 11
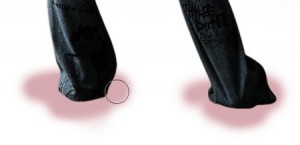
Make the shadows under the woman’s feet using a soft brush with a light purple color. Don’t worry about making it perfect, we’ll blur using the Motion Blur – Filter > Blur > Motion Blur.
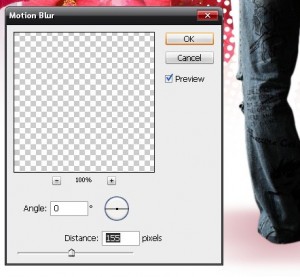
Step 12
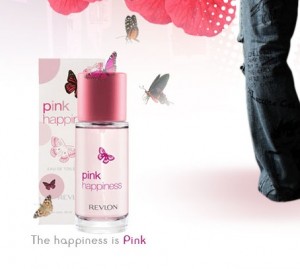
Add the perfume image and the text. I’ve also used some butterflies that you can find here next to the bottle of perfume with masks to soften a little bit.
Conclusion:
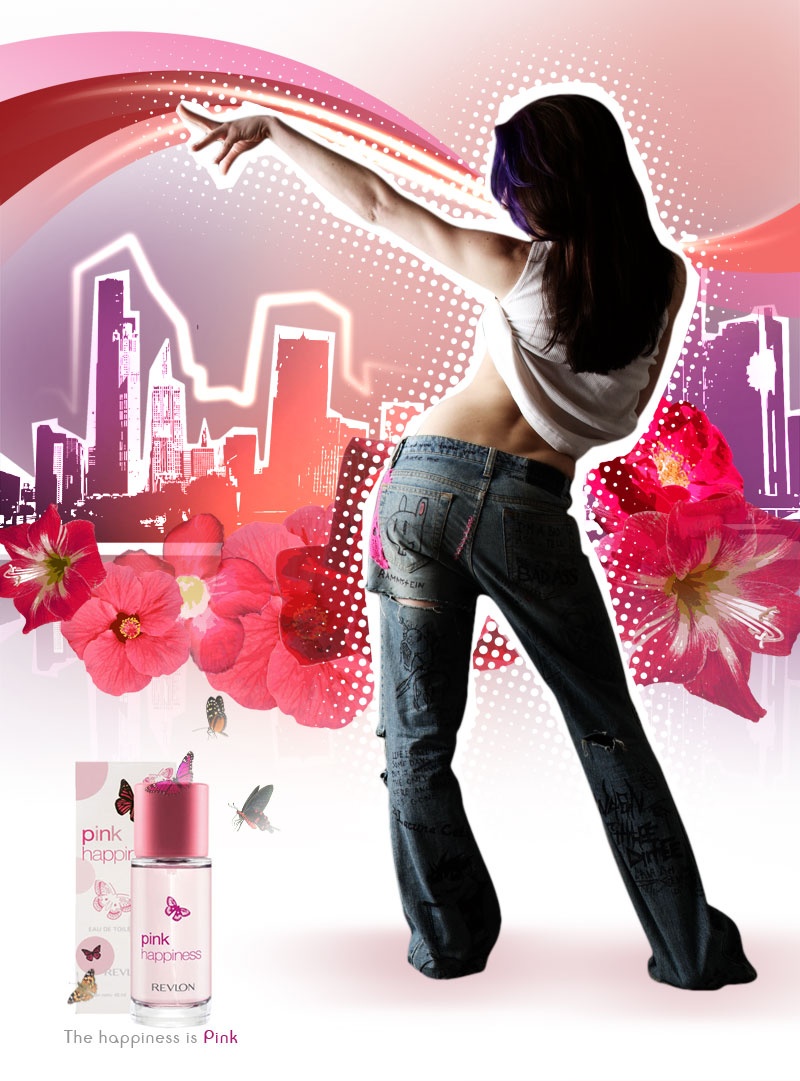
You could see that you just have to think about elements to complement your idea, make it harmonyous and explore as much as you can. All these things were not my first option, I had to try a loooooot, but that’s how it works. Go ahead and explore your creativity!
Download Sample PSD 6.6M .zip
About the author
Estéfany Franco
 Graphic designer student (and a cutie) from brasil she is just 18 and already works as a graphicdesigner, photrografer and also a teacher of advadce photoshop.
Check out my blog

I`m only person isn`t see any image in your posts?
In RSS the images are there but anyone open.
In blog, nothing
=(
great composition, and layout.
the only flaw that stands out to me, is the sexy chick needs some levels and enhanced color saturation. other than that, really great tut Dude.
rock on
Thanks Centurian :), Is think is nice composition and I do agree the chick need some levels of saturation..but when I realized it already they tut was already done, I am going to fix it at least for the conclusion.
@ 3 Id
Try now please.
Wonderful!!!!
Magnífico tutorial, creas imágenes casi tan bellas como tú.
Great Blog, I always wondered how to do the halftone effect.
Cool blog, I’ve always wanted to know how to do the half tone effect. I’ve seen other tutorials but none as simply and as effective as this one.
That is all pretty good work. I like what your doing with the ads. What program are your using? Something like adobe? Very interesting and excellent.
thank u
Wonderful!!!!Wonderful!!!!
Real nice end result. Thanks.
liked your idea amd presentation but i was thinking of making it more spacious i find it a bit bussy
it would have been better if the model used would have been portrayed better i mean her body language is more of hard and masculine need more famine feeling
@som thats it a good point. But you know it is not always easy to find a good free stock photo :).
Hehe nice blog , this will be good for chicks 🙂
Real nice end result. Thanks.